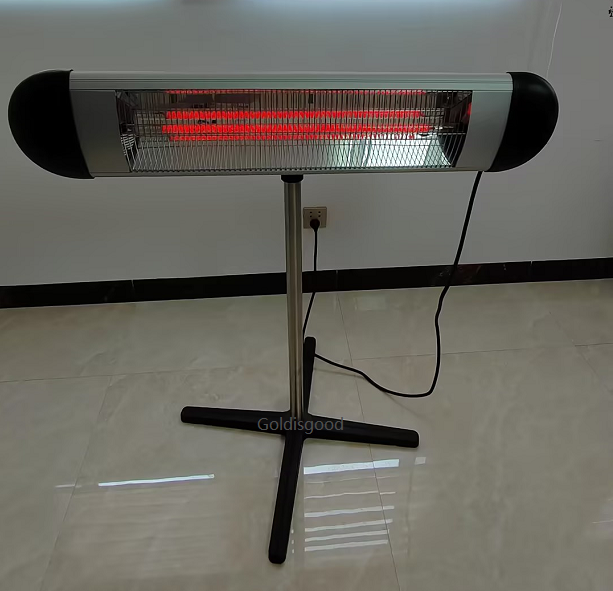
What makes these outdoor heaters actually work out there
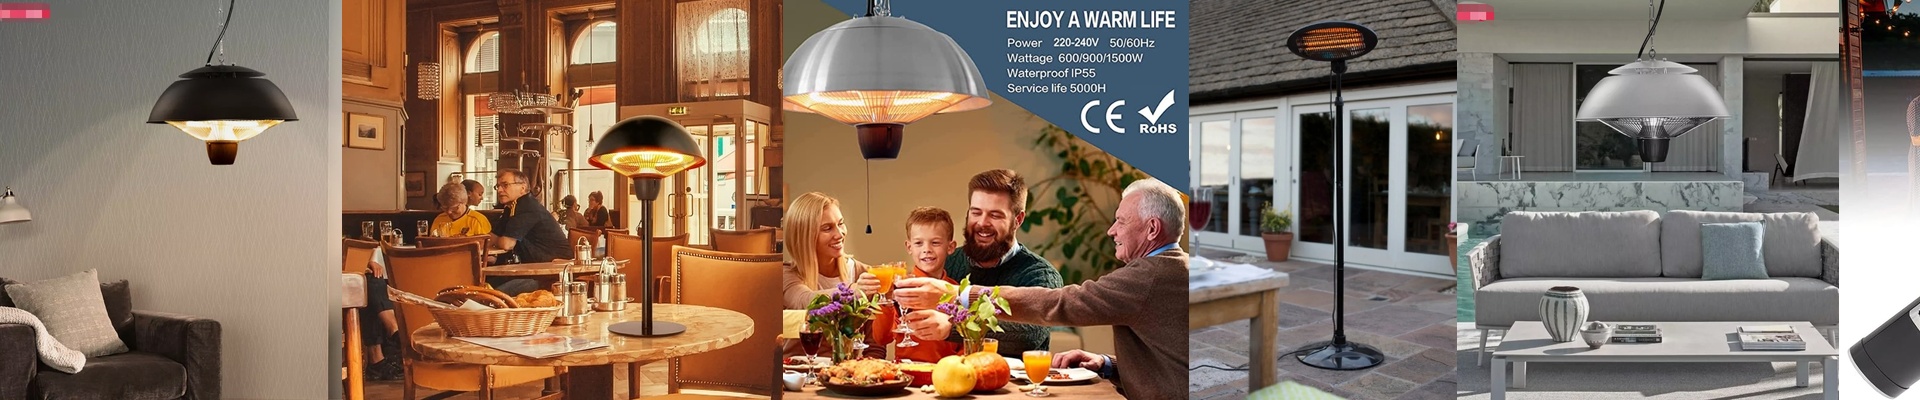
Let’s talk about the kind of heater that doesn’t mind being outside—the one that shows up for loading bays, workstations under an awning, and sheltered walkways, and just gets on with the job. We built these around one clear idea:big heat, in a small footprint. The way we pull that off is by running the heater on high voltage—usually 400V—so we can pack serious wattage into a compact body. That’s how you get the kind of heat density that warms a large outdoor area without needing a giant heater taking up space. The tube length?**300mm.**That wasn’t random. It’s the sweet spot where you get enough element surface area to do the work, but you don’t create a sail in the wind. It also fits cleanly into existing fixtures. The catch is that a tight footprint means the inside has to be engineered to handle serious thermal stress.
The part that holds up when the weather doesn’t
The heating element sits inside ahalogen-filled quartz tube. The halogen gas does something smart: it helps keep the filament from blackening by regenerating the tungsten. In plain terms, that means the output stays steady over time—no fading heat. Quartz also handles something outdoor heaters see a lot:thermal shock. It can take the jolt of fast on/off cycles without cracking, unlike standard glass. For the electrical connection, we use anR7s connector. It’s an industrial standard for a reason—solid contact, stable alignment, and wiring that’s straightforward in the field. That also cuts down on hot-spot risk where the power meets the heater. And the tube is coated, because “outside” means rain and dust. That coating helps shield the quartz from contaminants and fights moisture ingress.
What it feels like on the job—and what to plan for
When you flip it on, you getinstant radiant heat. No waiting around for an enclosure to warm up. People feel the warmth quickly, which matters when you’re working outside and time is tight. We designed these to be adrop-in upgradefor standard industrial fixtures, so you can swap them in without reworking the mounting hardware. But here’s the honest part: that much heat density means you need proper thermal management. Make sure the surrounding enclosure and nearby controls can handle the temperature rise—or plan for extra ventilation. And that’s the whole point of how we approach design: matching the electrical specs to the reality of installing and running the heater outdoors—so it performs when you need it, and doesn’t turn the install into a headache.